Working with Arduino: Raspberry Pi 3

Projects: In this module was able to work with an Arduino – more specifically, the Raspberry Pi 3 (RP3). With so many online tutorials demonstrating what could be constructed, I wanted to make sure that I created something that I would actually use. Looking around my apartment, my mind raced with the various ways that I could integrate this new technology to complete dedicated tasks that would usually be accomplished through a computer. Additionally, the opportunity to work with a physical artifact was a new experience within Design Studio, and a most enjoyable one at that!

Taking this course online brought with it a number of challenges, especially as it pertained to dedicating time to communicate with others about my learnings. What I found, however, was that my desire to engage in such conversations emerged naturally with individuals in my close proximity. One such instance involved a casual mention of my RP3 purchase to a neighbor, who was delighted to tell me that she too had purchased one herself. Working with this tangible device opened the door to bring outsiders in and became a mutual talking point that facilitated discussions surrounding my academic journey thus far.

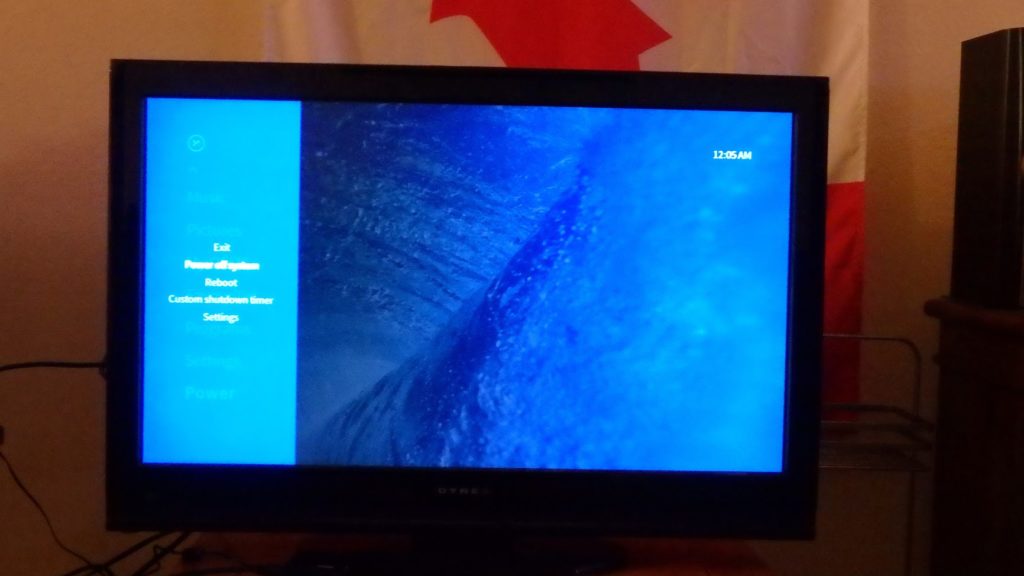
Over the course of these discussions, I began to ask people what some of their everyday problems were, to see if I could channel some aspects of “The Design Way” into this module. Living in an apartment complex with two housemates creates an interesting dynamic when it came to sharing of common spaces. With three bedrooms, it was not uncommon for each person to retire to their respective spaces after class or work, without ever interacting in the shared living room. Too often, the reason for not consuming media in the same room was because computers and gaming systems were the preferred medium for streaming media. The size, price, and fixed nature of these devices compelled each of us to house them in our individual quarters, which is not ideal for viewing audiences larger than one. So, my first RP3 project was the creation of a low-cost shared media center that would allow for movies and music to be streamed in the living room.

Media Center Project Page

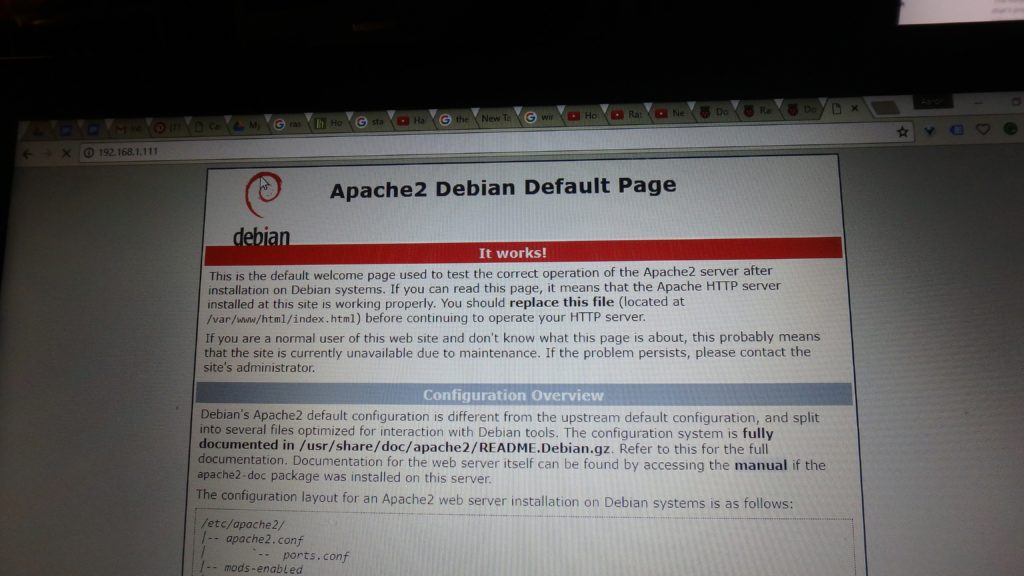
The desire to use this technology to facilitate greater social interaction didn’t stop at the implementation of a simple media center, as I discovered that many friends and neighbors are very attached to their smart devices. Whenever I host guests, they often ask for the wi-fi password in order to save on their monthly data usage, however, being housed in my room, the router failed to reach the outdoor breezeway where people would often congregate to enjoy the warm summer nights. With the help of Google, I found that the RP3 could be set up as an effective, low-cost wi-fi extender that actually allowed individuals to access my guest network from greater distances while providing increased security through accessing via a firewall.

Wi-fi Extender & Access Point Project Page

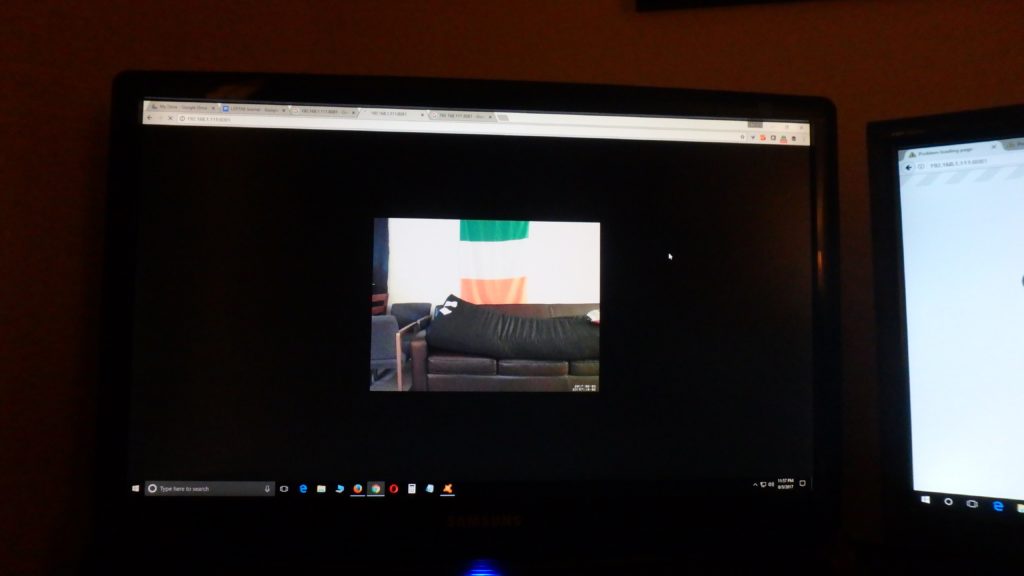
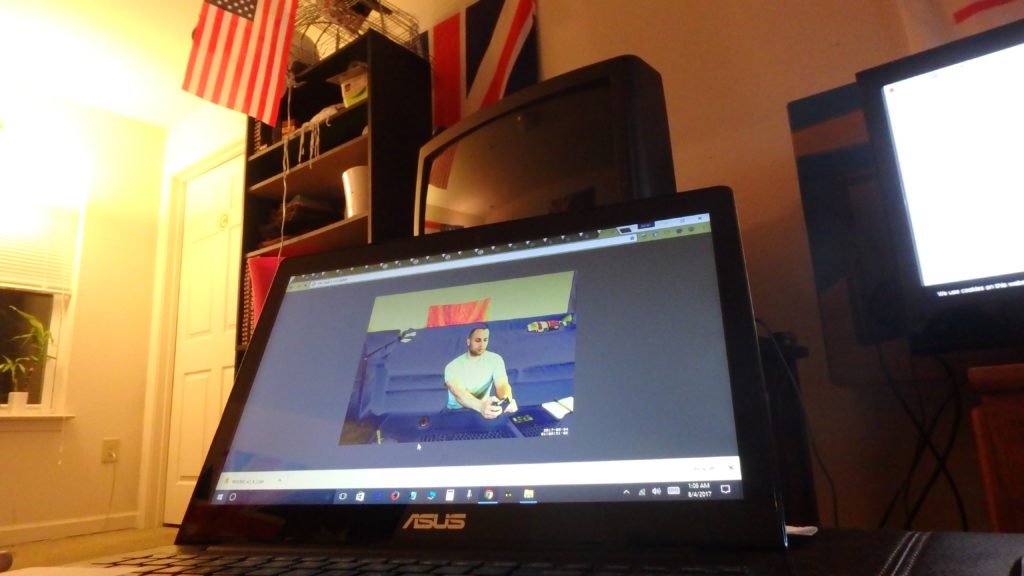
Aside from leveraging the RP3 for shared experiences, I also wanted to see how I could breathe new life into some tech toys that I only used on rare occasions. I found a relatively straightforward tutorial that turned an everyday webcam into a motion activated streaming device (LINK) that could be used for a number of applications ranging from home surveillance to a video doorbell. Paired with the low price of the RP3 or opting for the updated Raspberry Pi Zero with wi-fi capability, dedicating one of these networked devices to complete such tasks is becoming an affordable and practical upgrade to incorporate into our homes that are becoming increasingly connected.

Motion Activated Camera Project Page

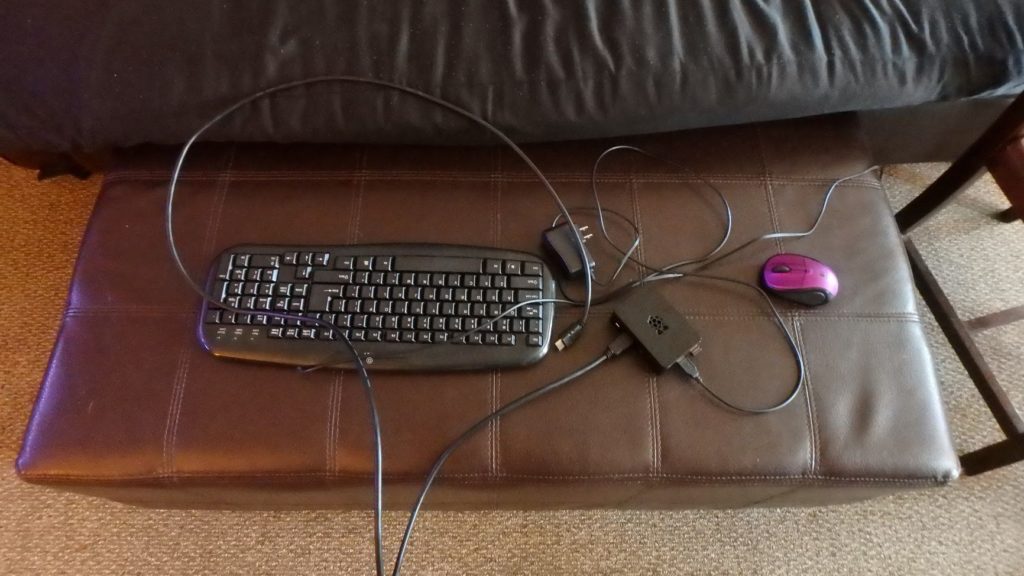
Final Thoughts: The RP3 was surprisingly easy to work with once I became familiar with manipulating the Raspbian OS, bringing new ways to look at everything that I integrated with it. Another project that I would like to try is repurposing some old USB drives as dedicated RAM to increase the working memory of the RP3. Plugging in a spare keyboard and wireless mouse allowed me to work directly with the Raspberry Pi through the HDMI input on my television and free up my laptop computer for troubleshooting. I plan to upgrade to Bluetooth peripherals in order to free up the USB ports so I can run some classic video game emulators that can be played through some spare Xbox 360 controllers.

Though this module has been hands-down one of my favorites, I did find the lack of certain functionality to be frustrating at times. For example, I surprised to discover that there was no physical on/off switch built into the device, which is especially inconvenient when not plugged into a screen to run the proper shutdown command for projects like the wireless access point or motion activated camera. Considering the risk of potentially corrupting the micro SD card without properly shutting down the device, building a power button is an add-on that I would strongly consider pursuing to enhance the user experience and ensure that all of my work is not lost over time. Otherwise, it was fun to take a look under the hood and run commands to tweak a device that was unique to me and my specific goals.

Working with Arduino: Media Center

Media Center Project: Originally, I thought this would be a relatively simple task considering how many media center apps have been created for the RP3 – one of the most popular being the Kodi media center. However, soon after installing and attempting to integrate my go-to streaming services for movies and music, I discovered that the application itself merely acted as an interface to access proprietary media files that exist within a digital library as opposed to providing a portal to access apps for existing services.

Despite reaching a dead end researching workarounds for this issue, I decided to look into other options to stream Netflix and Amazon Music from the Chromium browser. Interestingly enough, I found that even this functionality was not baked in, which surprised me given the open source nature of Google’s products. After a number of searches related to streaming services and the RP3, I learned that the source code needed to be modified in order to bypass digital rights management (DRM) restrictions imposed on the end of the streaming service providers.

More specifically, the DRM known as “Widevine,” required the browser’s source code to be updated. This handy YouTube tutorial provided the steps necessary to access my favorite flicks from the RP3 in the common area, which is unique in that it streams natively from the device and does not rely on Netflix to be forwarded to the updated device.

The RP3 utilized the browser experience, which happened to be a significant improvement over the Xbox 360 app that I have been using for several years. The video game system, being a Microsoft device and direct competitor of the PlatStation, failed to prioritize titles from Sony production studios. Considering the purpose of a gaming system, development on the Netflix app has been severely lacking, as priority on providing a rich user experience for an outside service fails to translate to increased profits for Microsoft.


Working with Arduino: Wi-fi Extender & Access Point

Wi-fi extender: Expanding on my first dive into modifying the RP3 source code and leveraging the built-in wi-fi capabilities, I was amazed at how my perspectives on networking changed. Once I started to read up on the differences between extenders and access points, I realized what goes into establishing a connection to the internet that extends far beyond simply plugging a wireless router into the wall. 

The RP3 can actually function as an access point and wi-fi extender, allowing individuals to save bandwidth on their monthly data plans by logging into the designated guest network from greater distances by installing Pi-Point. While the official site for using this software is extensively documented, in hindsight, there are several alternatives out there, and I feel that I would have much preferred the detailed instructions and helpful screenshots featured on the Adafruit site if I had found it first.  

While repeating the existing signal of my wi-fi connection through the RP3 to reach the breezeway was simple enough, setting up a new access point was a fun exercise and if I were so inclined, I could integrate a thumb drive to function as a shared media library that could be accessed and modified by any user who has access.

Though I only tested this with a couple guests with smartphones, the range increased noticeably, allowing the connection to reach far beyond the front door and with no signs of bandwidth throttling. One major drawback to using this device without using HDMI to plug into a screen is that the device needs to be properly shut down using Secure Shell (SSH) protocol, which I have yet to install. Given the micro SD card potential to be corrupted, I will be leveraging this feature before testing again.


Working with Arduino: Motion Activated Camera

Motion Activated Camera: This is something I have wanted to do for some time. Paranoia aside, I always thought it would be cool to have a video doorbell or be able to view my room remotely via the internet. So, instead of simply buying a home security system or the dedicated RP3 camera, I decided to upcycle an old webcam and tweak it myself using the Raspian OS.

This tutorial was great at getting things up and running, however, the camera failed to activate by detecting motion. Additionally, I discovered that the default settings would require manual restarts of the application and record for only a short period of time before turning off. While I believe this default setting was put in place to prevent the memory card from being overloaded, it would have been nice to know this before going through every single line of code and experimenting with the settings manually by rebooting the RP3 each time something was changed.

By modifying the number of pixels that would need to change before the camera started to stream, I was able to adjust the sensitivity of the motion activated feature. Also, the default resolution did not work on my Microsoft Lifecam Studio, so the dimensions had to be reduced in order to for all of the functions to operate as intended. 

Interestingly, this was my first time working with Apache, and the tutorial did a fine job at outlining this process so I could view the stream on a networked device. This default setting prevents anybody outside the network from viewing the feed, which is perfect for the video doorbell application, however, would not be ideal for checking in on things from the office or on the go.